How Do You Change Headlights on a Jaguar XF?
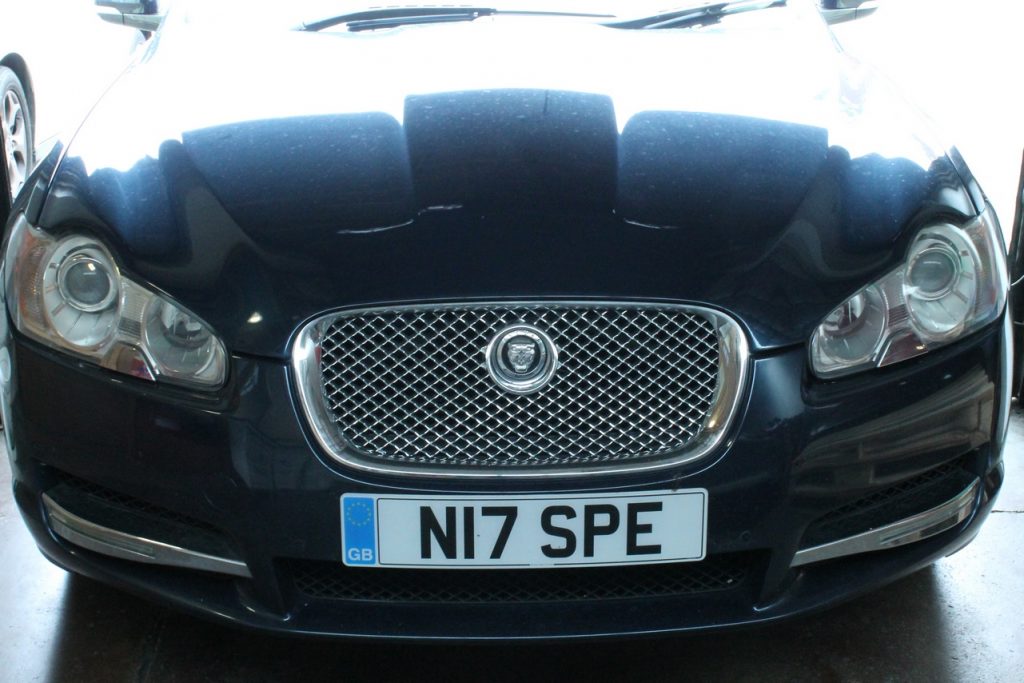
Today’s ABD Assist project was to replace the high beam bulbs on this Jaguar XF. In this instance, the HIDS4U Stealth HID kit is fitted but the process of accessing and replacing any of the headlight bulbs is the same. The great thing about this model of Jaguar XF is that the whole headlight unit is easily removed.
If you don’t have replacement bulbs at the ready or are unsure which bulb fits your vehicle, you can find the right headlight bulbs for Jaguar XF here.
Let’s get started…
Bonnet Up!
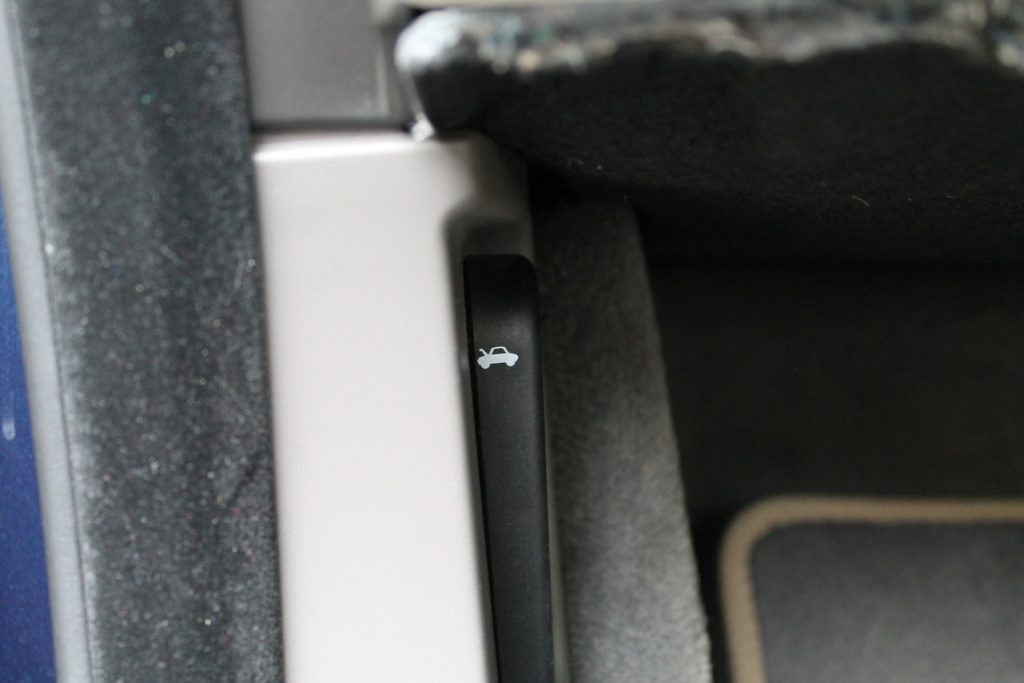
The first step is an easy one, although sometimes that pesky bonnet latch can be quite evasive, so here’s where to find it. Open up the passenger door…
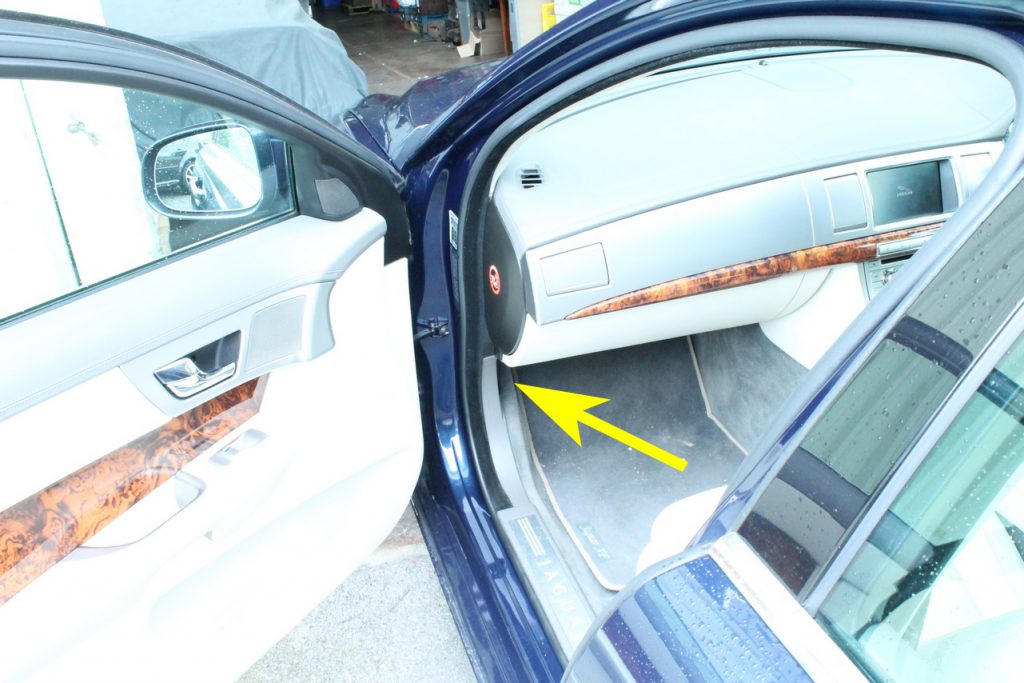
… and you’ll find it tucked in under the glove box to the left of the foot well.
One, Two, Three Fixing Bolts
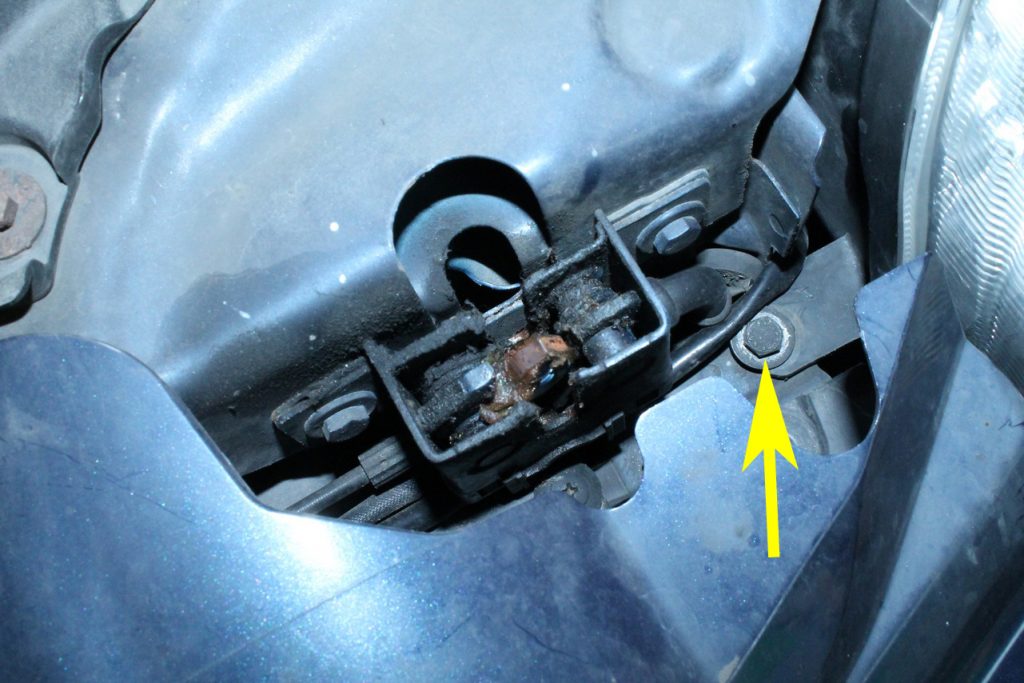
Now the bonnet is up, you need to locate 3 fixing bolts per headlight. The first one is easy to spot, it’s right there at the top in full view.
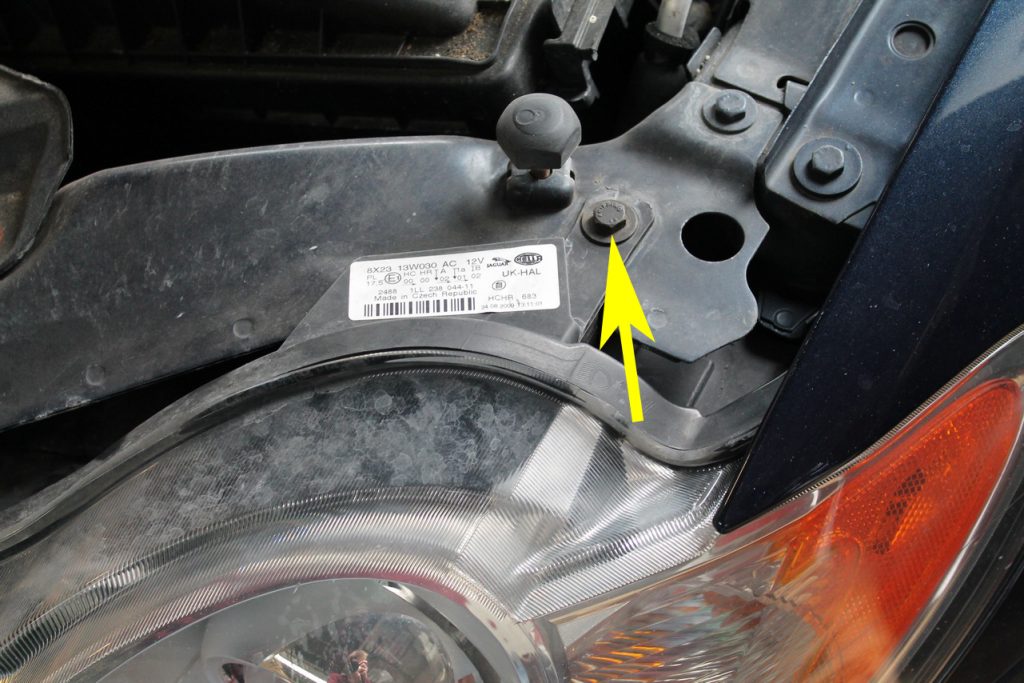
The second one is a little more tucked away. You need to look in the gap between the front grill and the headlight unit here…
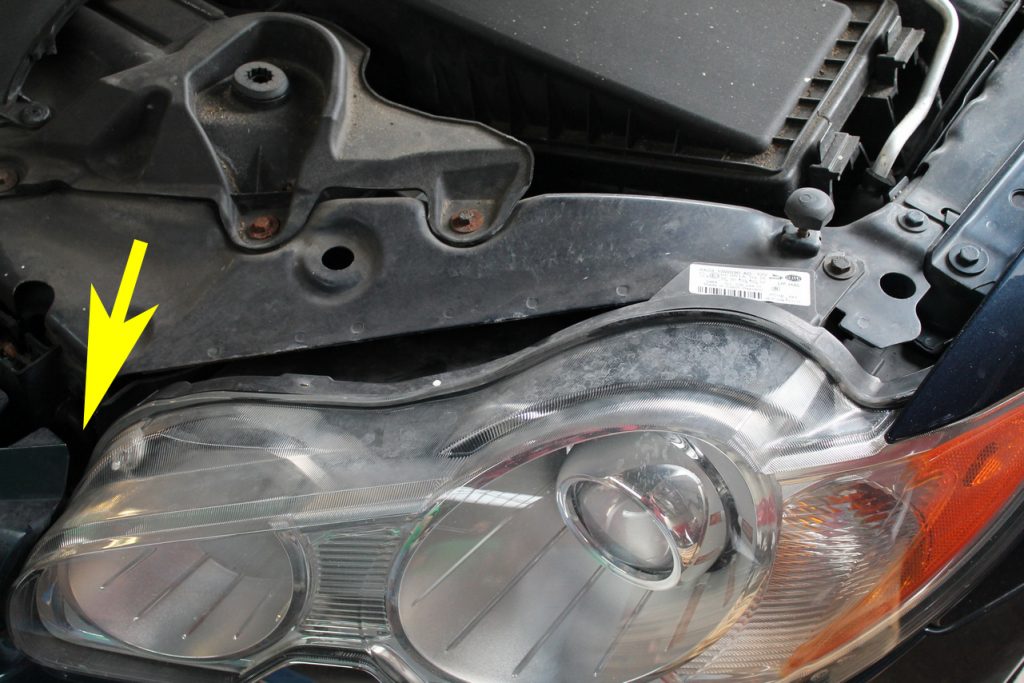
…and tucked down the bottom is the second fixing bolt.
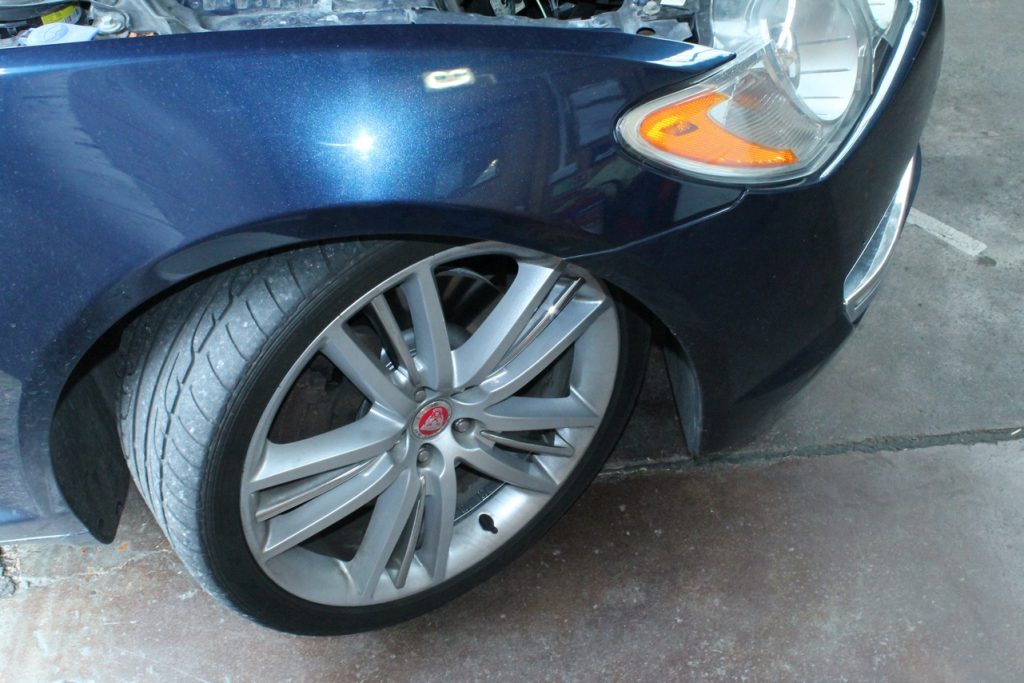
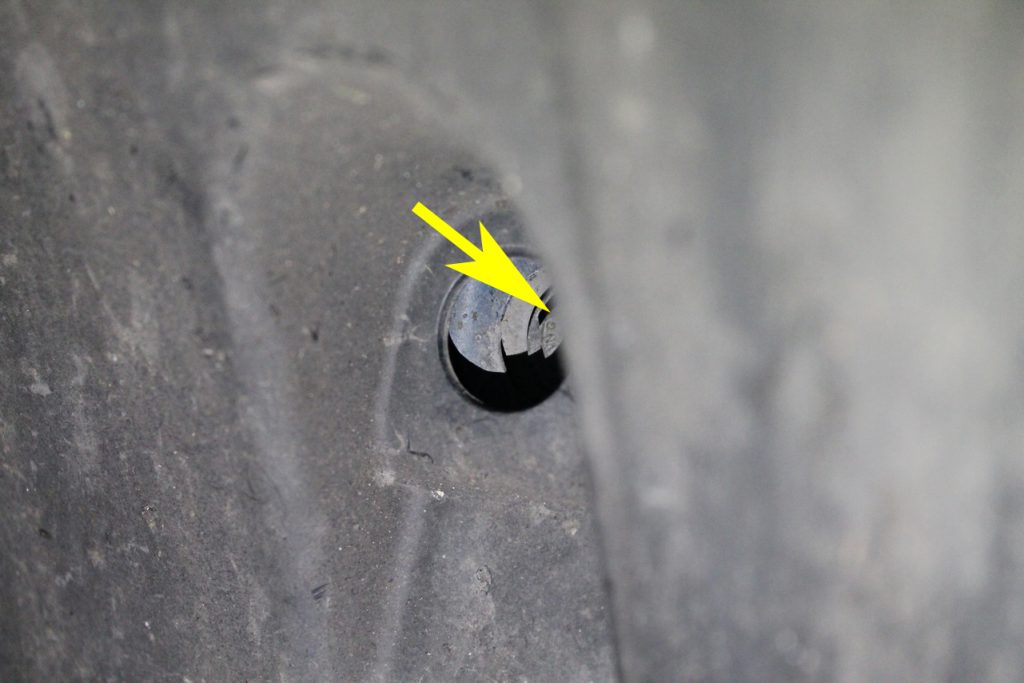
The third fixing bolt is accessed from the wheel arch. Turn the wheels full lock to the left to access the drivers side wheel arch as shown here: (obviously it’s full look to the right for the passenger wheel arch)
Hidden in this recess is the third locating bolt…
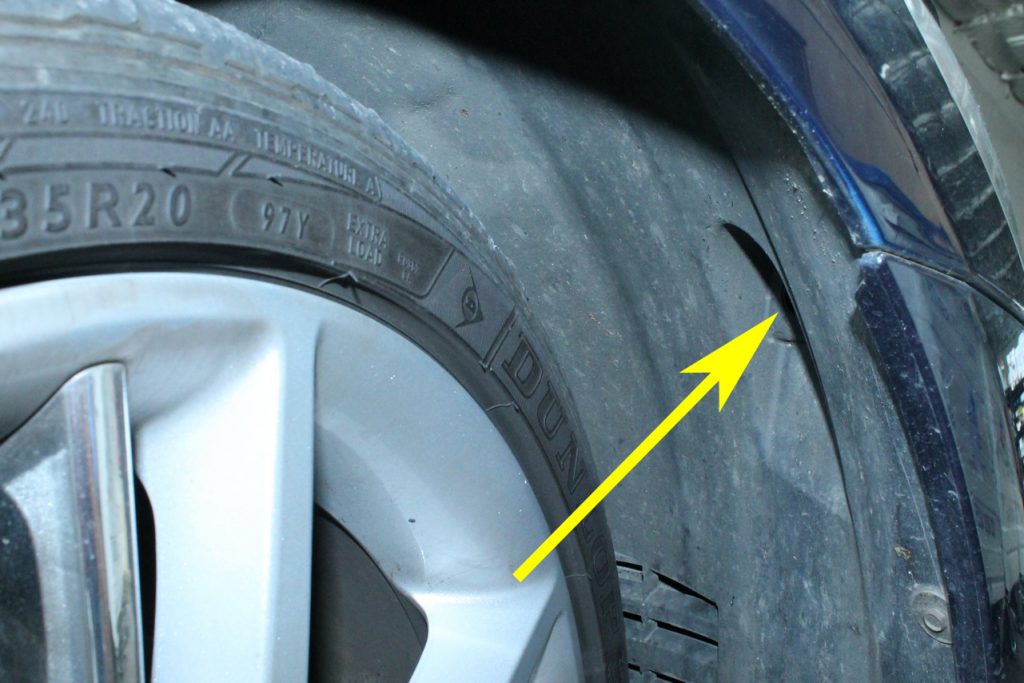
…and a closer look.
Unclip and Release
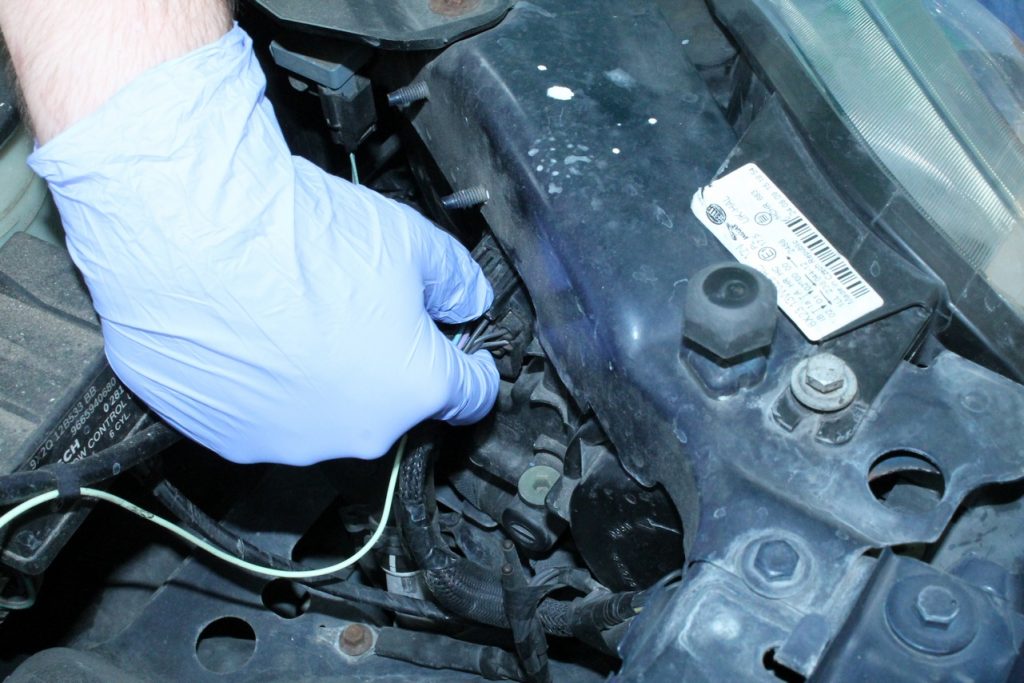
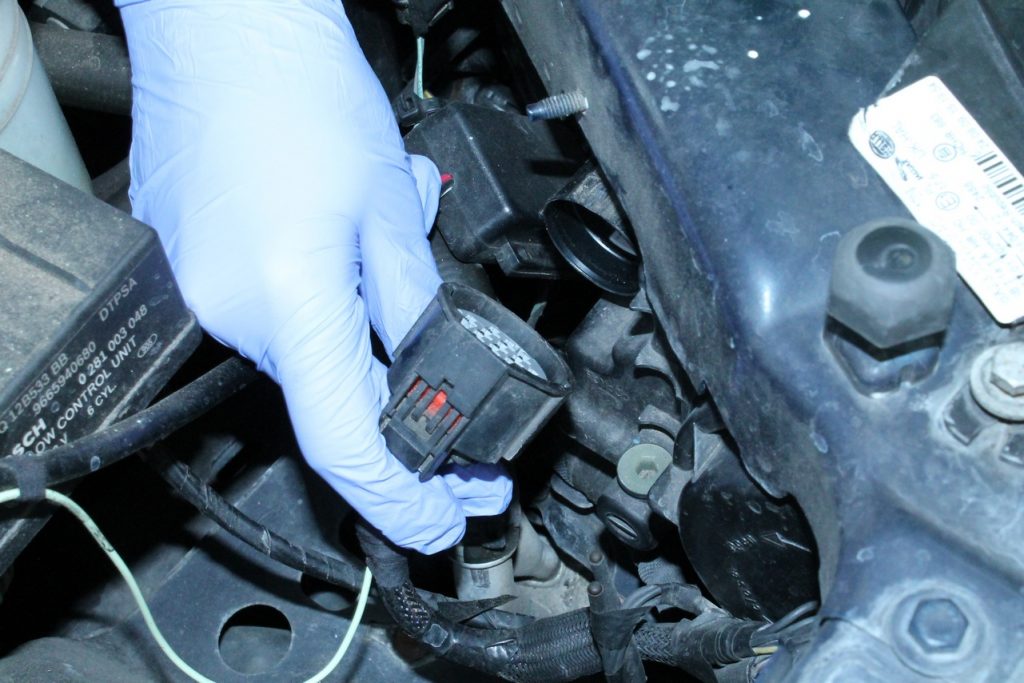
The last step to release the headlight is to unplug the cable block going into the back. Just push the tab down on the top and pull back away from the headlight to release…
…and we’re free!
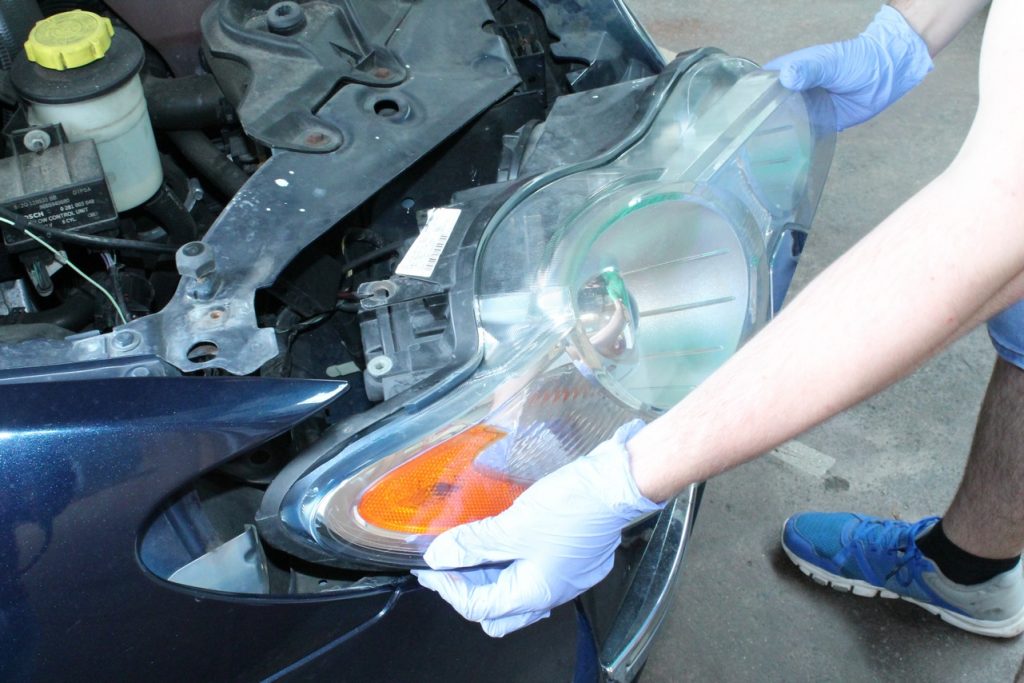
Now simply slide the headlight unit out the front of the car, be careful not to scratch any paintwork in the process.
On the Bench
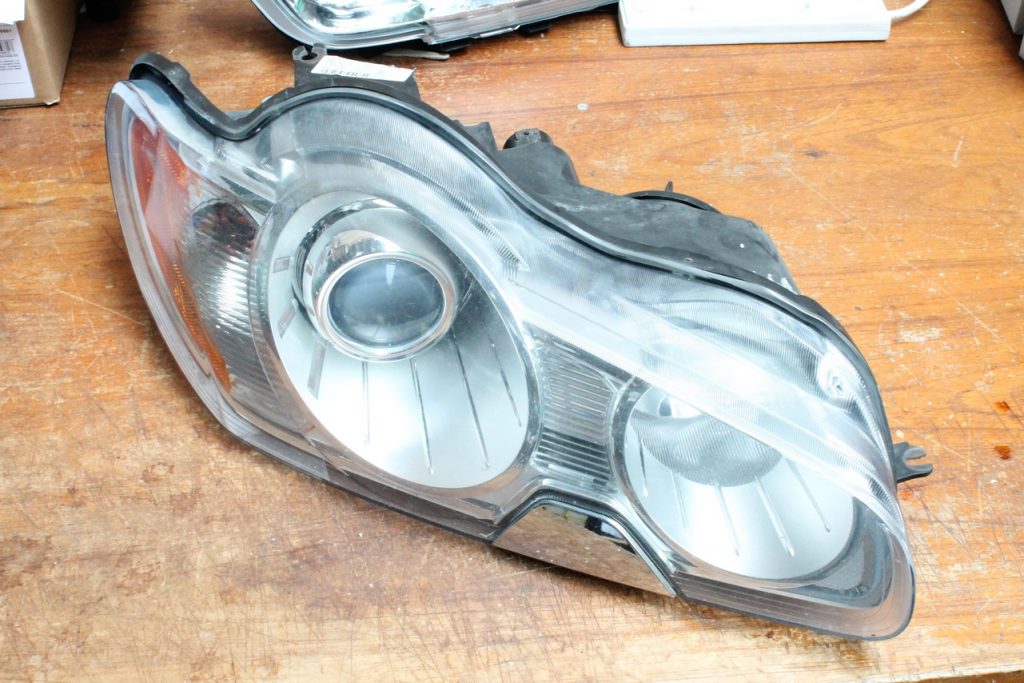
Now the headlight is out, you can work on it easily at will.
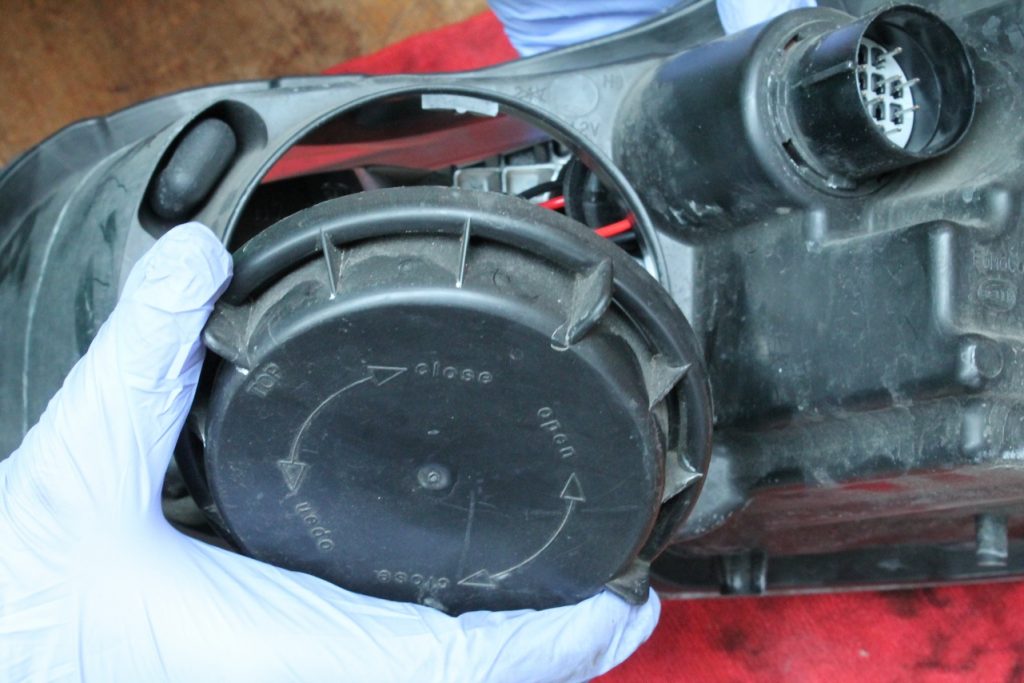
To access each headlight bulb, simply twist off the dust cover.
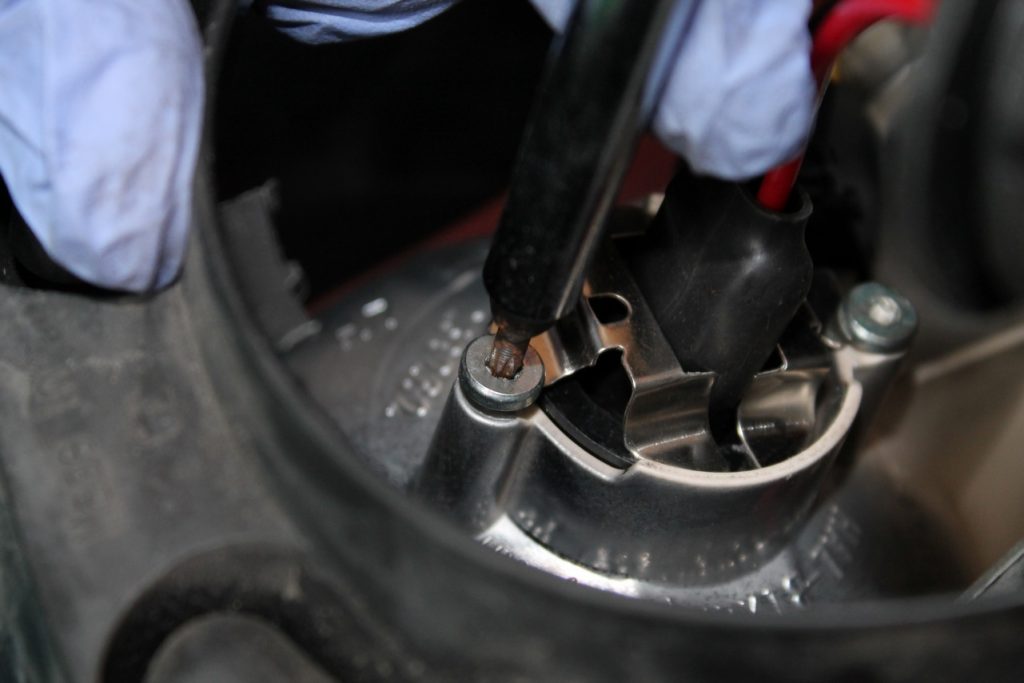
Loosen (or remove if easier) any fixing screws securing the bulb holders and remove the connecting block off connected to the rear of the bulb.
Replace and Reverse
Once you’ve replaced the bulb, simply go through the steps above in reverse.
Top tip: Test your lights before you replace any of the fixing bolts. If something didn’t go right in the installation process, it’s best to find out before you’ve put everything back together.
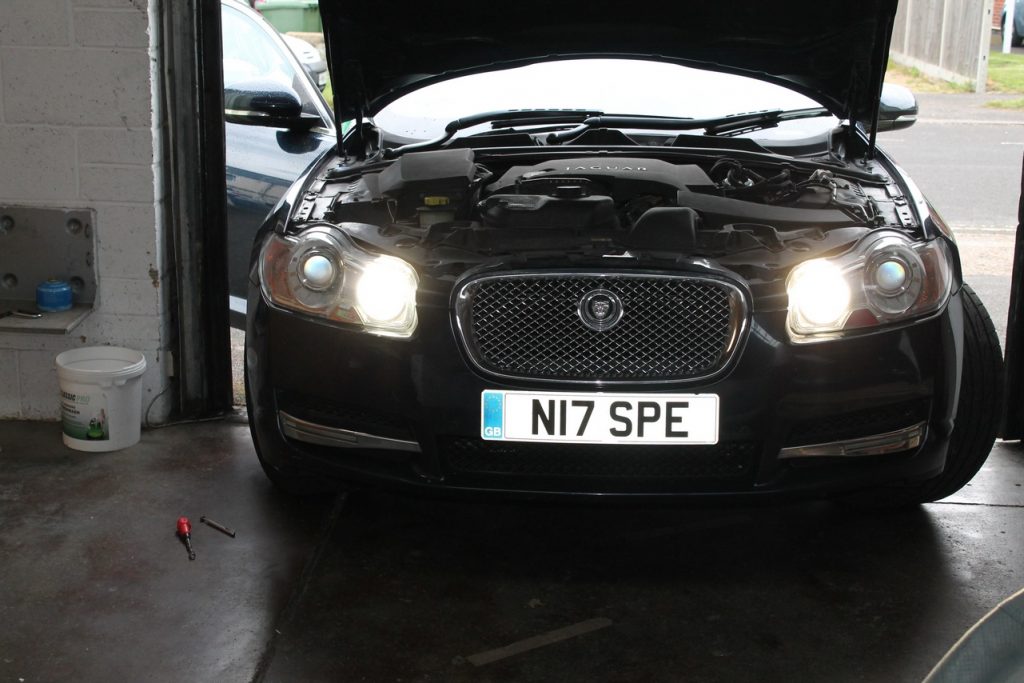
Jaguar XF – Done!
This car is a great car to work with, the ease of removal of the headlights makes life a lot easier. This particular car has HID fitted to dipped and main beam, with LED sidelights. It transforms the look and gives a superb night time driving experience.
Author: ABD.co.uk

Fantastic! This just saved me a ton of time!
You are definitely a true blessing. I have copied and pasted all, including the photos, to a word document. Such detail and photos, I am definitely impressed. I have a burnt out bulb, right low, that needs replacing. On the lite side, it took a few seconds of brain power to think, Duh, the UK drivers door is on the right side, mine is left. HA! I guess I will find out the P/N after I get it out.
my main beam has stopped working on drivers side only
do I need a new headlight or can it be fixed in anyway bulb is OK
any constructive opinions welcome
Hi Michael,
You need to figure out what part is faulty.
If you have D bulbs (xenon) then take both bulbs out, swap them over drivers’ side to passengers’ side then see if the fault follows.
Xenon bulbs usually consist of the bulb, ingitor and ballast unit so trying to figure out the fault needs some trial and error.
Upgraded my headlights to Xenon last weekend, so glad I did. Luckily the XF makes it easy!